There is always that one particular moment that starts a DIY plastering project. You notice a wall that no longer feels right. Maybe it has cracks that keep catching your eye, uneven patches that show up when the light hits just right, or repairs that never quite blended in. The wall does its job, but it quietly pulls down the feel of the room.
That is usually when people start wondering whether it is something they can handle themselves. The answer? You can!
In many homes, plaster walls take on years of small wear that slowly adds up. Learning the basics of plastering in Auckland conditions helps you work with the climate and makes the process feel far more manageable from the very first step.
Start With the Right Expectations
Plastering is not about rushing or chasing flawless results on the first pass. It is about rhythm, patience, and understanding how the material behaves. Walls respond to how they are treated, and in Auckland’s humid climate, they respond even more clearly.
If you go into the process expecting it to be slow, a little messy, and surprisingly meditative, you are already on the right track. The goal is not speed. The goal is a wall that feels smooth, solid, and ready for its next chapter.
Prepare the Wall Properly Before You Begin
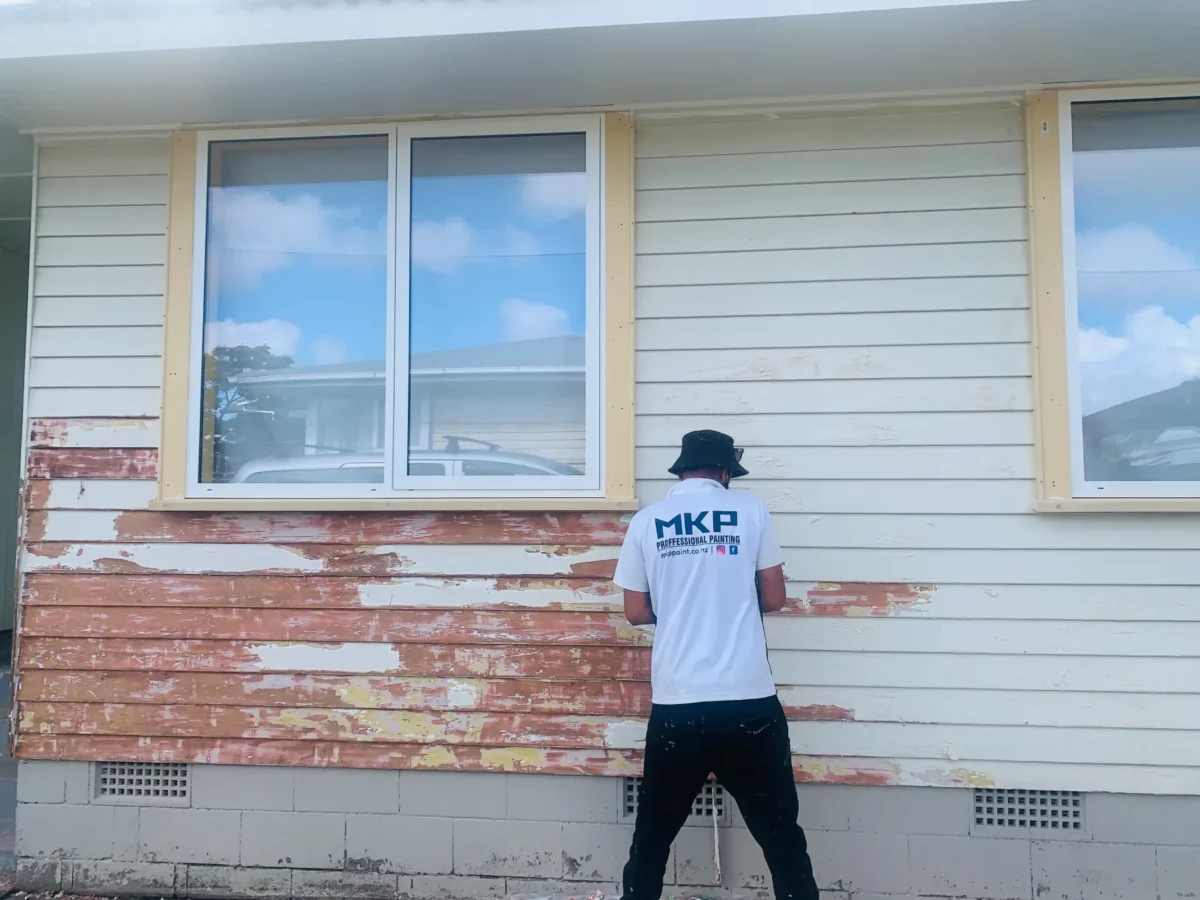
Most plastering problems do not come from poor technique. They come from skipping preparation. A wall might look clean at first glance, but dust, loose materials, or hidden moisture can quietly undermine all your effort.
Before any plaster is mixed, the wall needs your full attention. Old flakes of paint should be removed. Any loose or hollow-sounding areas need to be addressed. If the surface feels damp or shows signs of mould, that issue needs to be solved first, not covered over.
Once the surface is sound, sealing it properly helps regulate how the wall absorbs moisture from the plaster. This step gives you more working time and reduces the risk of cracking later. In Auckland homes, where humidity often lingers in the air, this balance matters more than people expect.
Get the Plaster Mix Right From the Start
Plaster is surprisingly honest. If it is mixed poorly, it shows. Too thick, and it drags and tears. Too thin, and it slides and sags. The sweet spot feels creamy and steady, sitting comfortably on your tool without dripping.
Always start with clean equipment. Even small bits of dried plaster left in a bucket can cause your next mix to set too quickly. Add plaster gradually to water, not the other way around, and mix until the texture feels smooth and consistent.
This is one of those moments where slowing down pays off. A good mix makes application calmer and far more forgiving.
Apply the First Coat With Control, Not Speed
The first coat is not meant to be beautiful. It is meant to be even and controlled. Thin layers are your friend here. Trying to cover everything in one heavy pass almost always leads to cracking or uneven drying.
Work in small sections and let your movements stay steady. Push the plaster onto the wall rather than brushing it on lightly. This helps it bond properly and sit where it should. As you move across the surface, small imperfections are fine. They can be refined later.
After the plaster begins to firm up, gentle smoothing helps knock back ridges and high spots. This stage is less about perfection and more about setting up the next layer for success.
Allow Enough Drying Time Between Coats
Drying is not just waiting. It is part of the craft. In Auckland, high humidity can slow things down, even when temperatures feel mild. Plaster needs airflow and stability.
Let the wall dry naturally. Keep the space ventilated when conditions allow, and be patient if it takes longer than expected. Rushing into the next coat before the surface is ready often creates more work later.
Use the Second Coat to Even Everything Out
The second coat is thinner and more intentional. This stage is where the wall starts to feel cohesive. The aim is to fill shallow hollows, soften transitions, and bring the surface closer to smooth.
Light pressure works best here. Overworking the plaster once it begins to set can pull material back off the wall and leave marks that are harder to fix later. Calm, confident passes tend to deliver the best results.
A Few Common Mistakes Worth Avoiding
Even careful DIYers run into similar issues. Being aware of these early can save frustration:
- Applying coats too thickly in an attempt to speed things up
- Skipping proper sealing of the surface before plastering
- Letting plaster dry too quickly with heaters or direct airflow
- Sanding aggressively instead of refining gently
- Moving on before each coat has fully settled
These moments usually come from impatience, not lack of skill. Slowing down almost always fixes them.
Once these are avoided, the process becomes far more forgiving, and the wall responds in kind.
Sanding and Finishing With a Light Touch
Sanding is not about grinding the wall flat. It is about softening edges and blending the surface. Start gently and let the paper do the work. Fine passes create a surface that feels even without thinning the plaster too much.
After sanding, removing dust properly matters. Residue left behind can interfere with paint later and dull the final finish. A clean, dust-free wall is the quiet foundation of a great-looking result.
Knowing When DIY Is Enough
Plastering your own wall can be deeply satisfying. It gives you control over the process and helps you understand your home better. Smaller areas, repairs, and single walls are often ideal places to start.
That said, larger spaces, complex lighting conditions, or ceilings can demand more experience. Recognising that line is not a failure. It is part of taking care of your home wisely.
Final Thought: A Calm Finish is the Real Win
A well-plastered wall does not shout for attention. It simply feels right. The light falls evenly. The surface feels solid. The room feels calmer.
DIY plastering is less about mastering a technique and more about respecting the process. With patience, preparation, and a steady pace, the results can feel deeply rewarding.
When done thoroughly right, the wall becomes what it was always meant to be: a quiet backdrop that lets the rest of your home shine.
